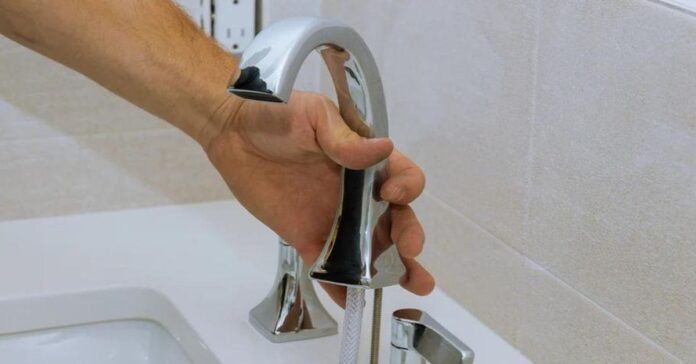
Basin Tap is one small but mighty item in our bathrooms. Through these, we are able to enjoy either hot or cold baths simultaneously. Modern basin tap designs are crafted in such a way that they are hygienic and beautify the bathroom while also making it a place soothing for relaxation during a shower after a hard day’s work. These benefits could be taken away immediately the basin tap begins malfunctioning or starts looking old and rusty. A old and worn-out tap is no longer as hygienic as it used to be and should be replaced as soon as possible. Without calling a professional, you can purchase a new basin tap from any local plumbing store and fix it yourself. These are five steps to follow if you want to undertake this adventure at home.
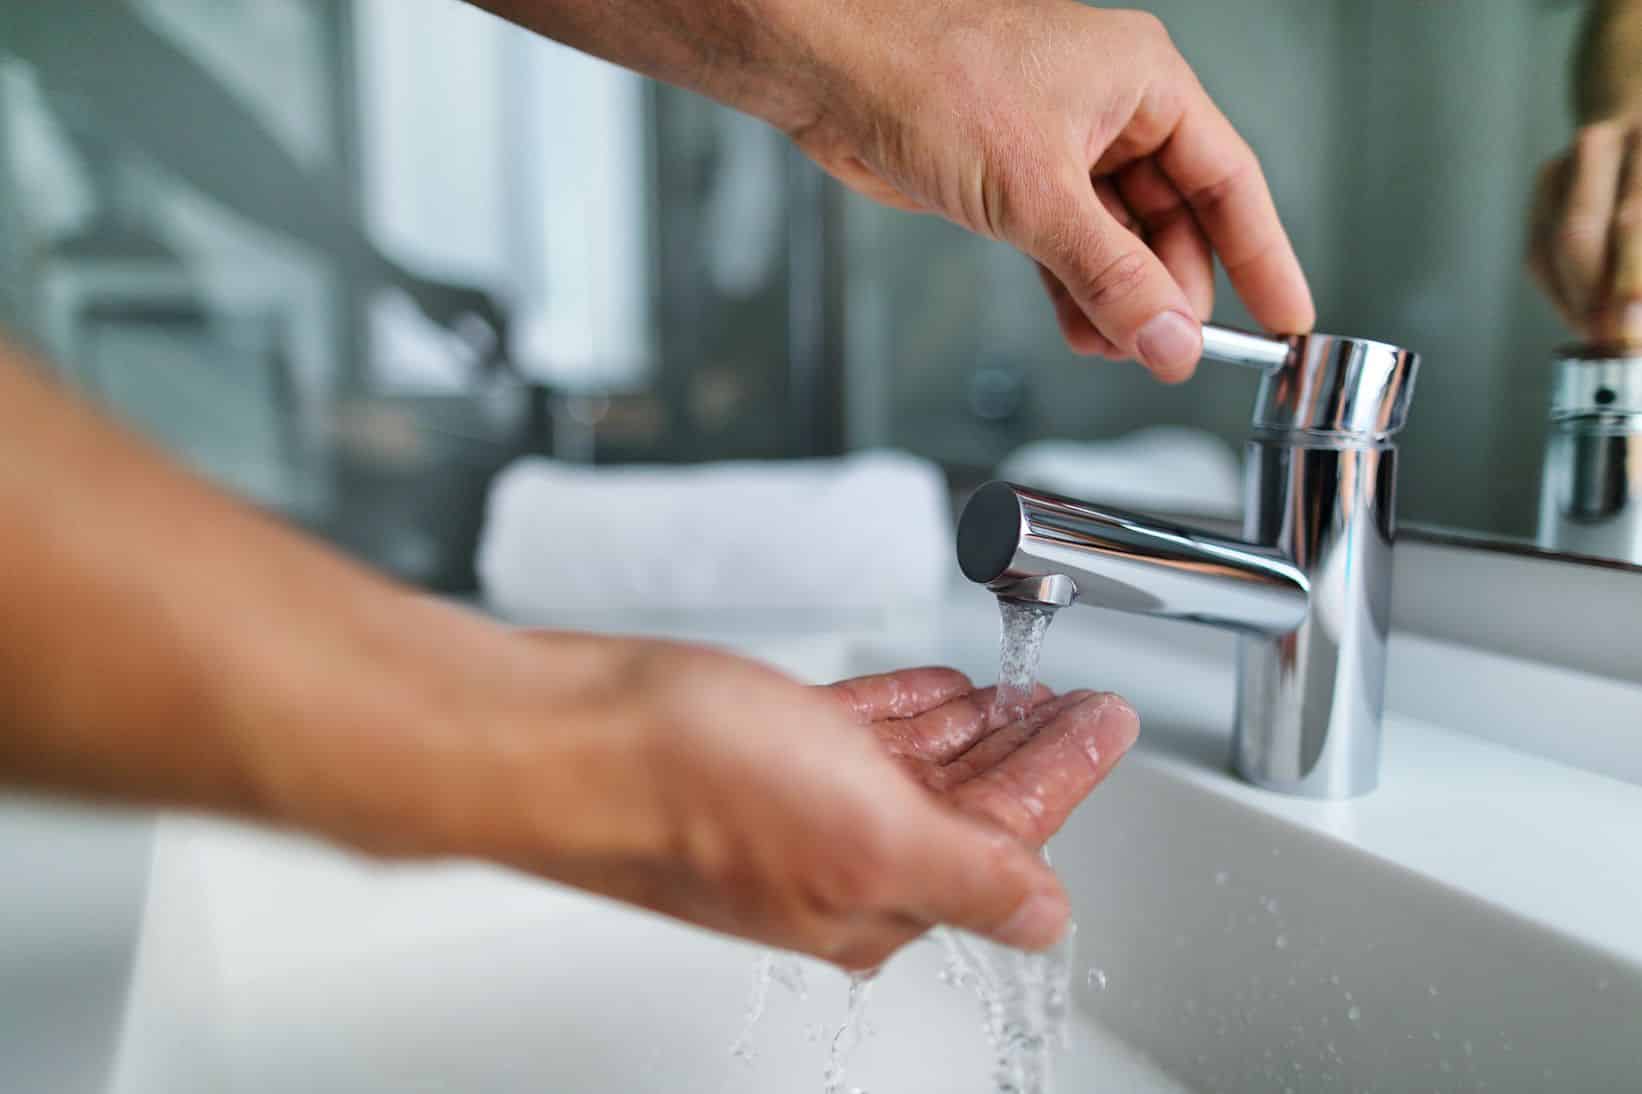
Table of Contents
- Turn Off Your Water
- Remove Your Old Tap
- Install Your New Tap
- Connect Your Plumbing
- Switch Your Water Supply Back On
Materials Needed To Replace A Basin Tap
- A New Basin Tap
- A Compression Fitting
- A Washer
- Elbow Grease
- A Spanner
- A Plier
Step 1: Turn Off Your Water
To change a basin tap or any other tap, you first need to turn of the water supply. In most homes, there are separate taps that have been installed underneath or beside the basin for easy closure. If you do not have that in your home, then you will have to go out and turn off the main water supply. This is the first and most important step because it will save you a lot or time and energy having to clean excess water which would splash out with power. For you to be sure it’s all good, run the hot and cold taps for a few seconds so to drain excess water in the mains before turning off the water supply.

Step 2: Remove Your Old Tap
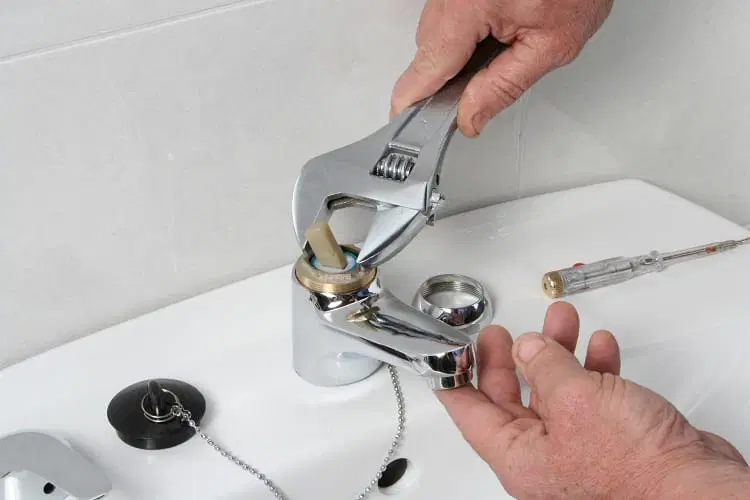
The next thing to do is to remove the old tap. Before this though, place an old towel in the basin hole so it traps screws and other small participles which could fall off from the tap. As a beginner, you need to pay close attention to the details; as you will need to follow the exact steps to fix the new tap after removing it. Do not panic! Taking the bold step to begin this adventure is a plus for you to know you’ve got it under control. Look beneath your basin and you will find a nut affixed to the tap, unscrew it with a spanner or plier and gently take off the old tap from the domestic pipe work.
Step 3: Install Your New Tap
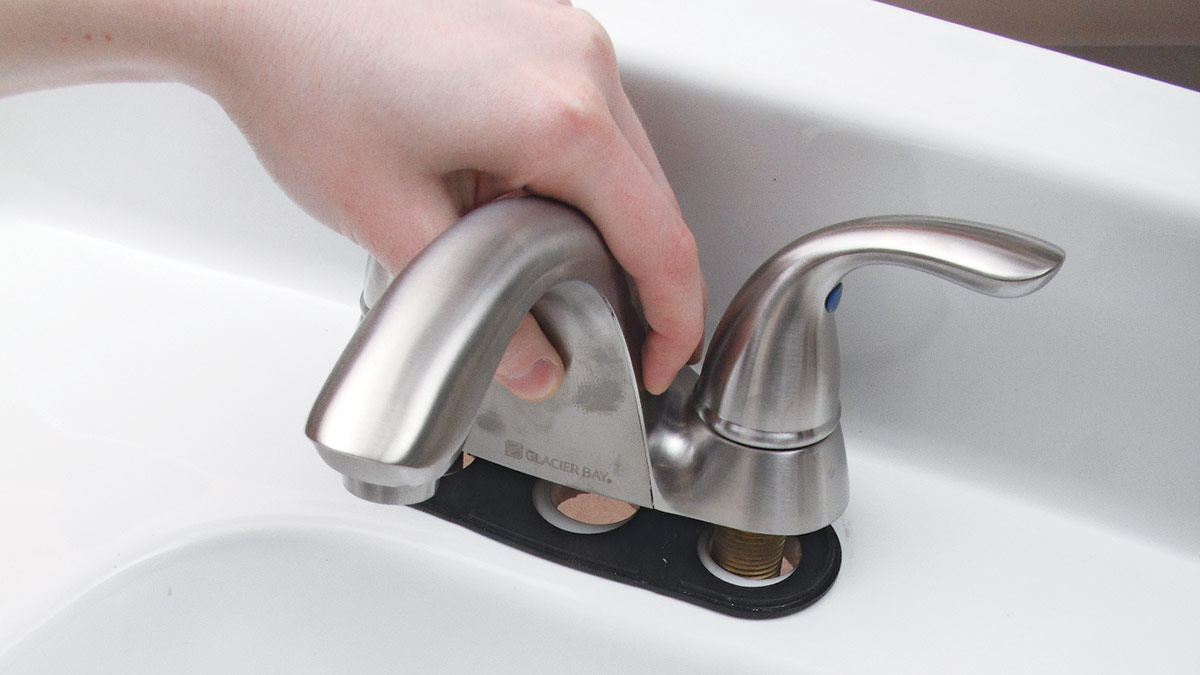
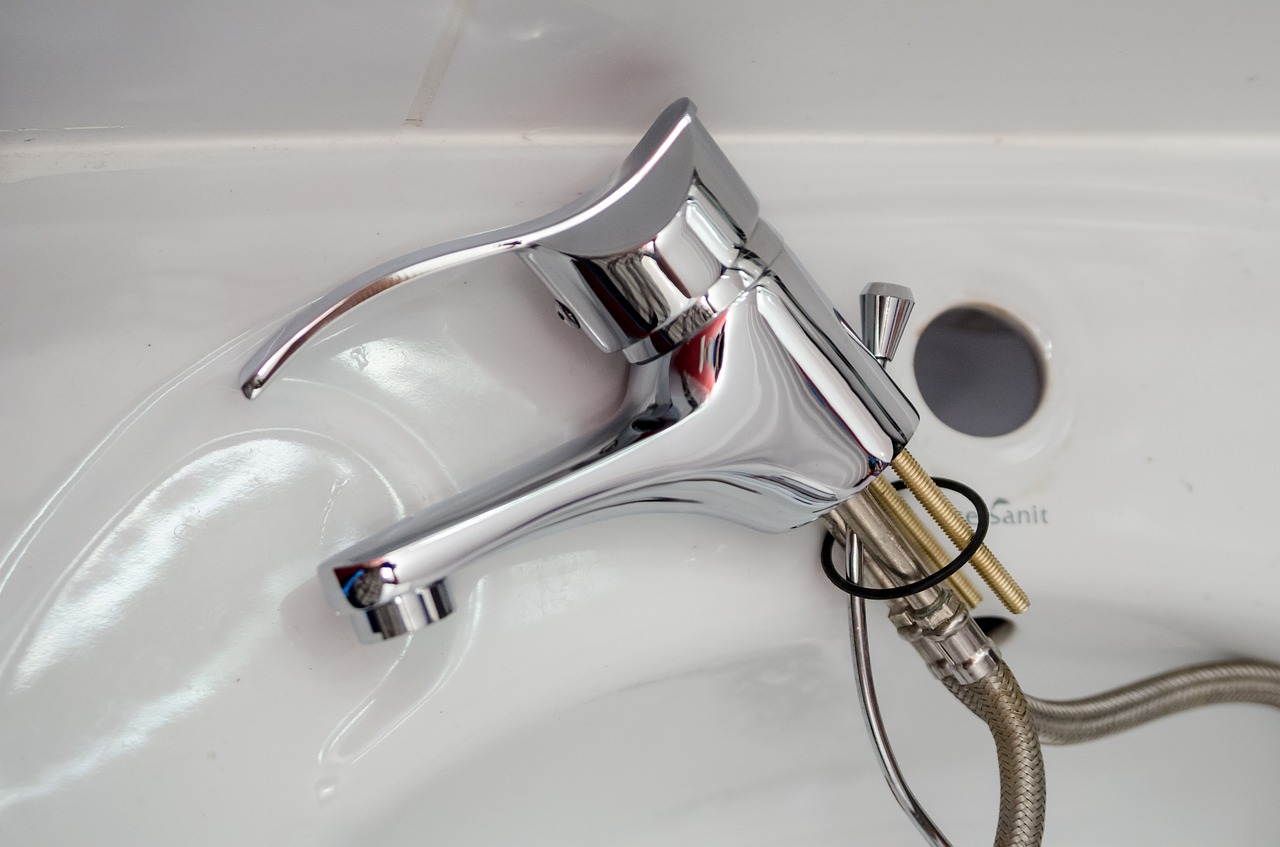
Slowly drop the threaded post which comes with the new tap down the basin hole created after removing the old tap. Be sure the tap sits perfectly on the basin while the thread is hanging underneath the basin. At this point, take the washer a fix it to the basin so it supports the tap to sits firmly. Tighten the nut onto the threaded post with your spanner or plier, but please do not overtighten lest it causes thread. You now have a tightly gripped tap on your basin.
Step 4:Connect Your Plumbing
Now that the pipe is firmly seated on the basin, the compression fitting comes to do its part. Taps come with flexible connectors which must be connected to the copper domestic pipes by screwing compression fitting in between. When this is done and properly, the pressure between the hot and cold taps are safely regulated.
Don’t shy of doing a last check on the stability of the new tap while also checking for any loose or leaky connections.
Step 5: Switch Your Water Supply Back On
After you have done the last checks and everything is well in place, turn back on the water supply from the mains. You can now turn on the tap and experience the beauty of the work you have done. A rushing sound and water will first pop out and that occurs because of the air that has been backed up while installing the new tap. Note that, your tap should be open before the aforementioned process. Should the tap be closed when that happens, there is a high possibility the new tap could be damaged.
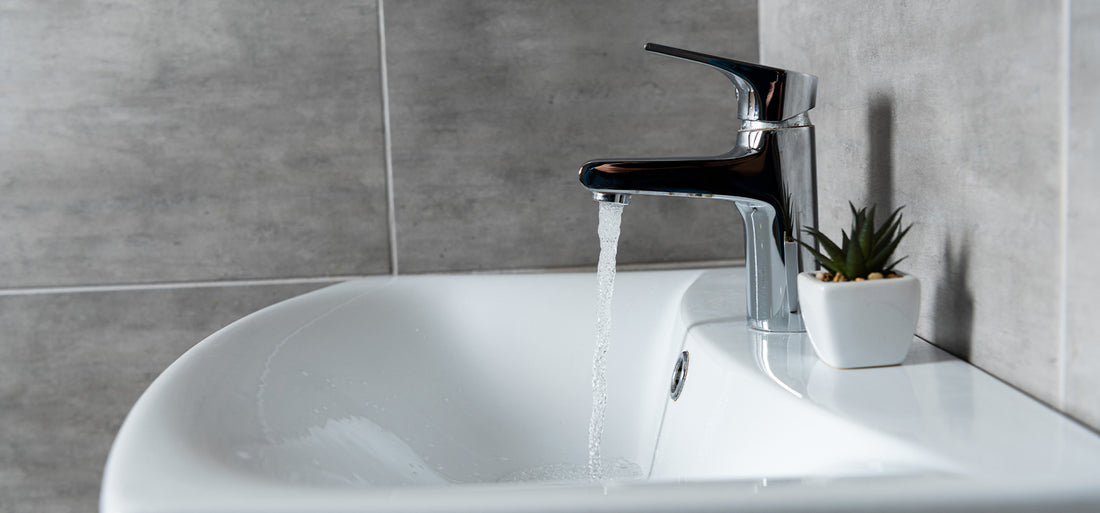
The beauty of your bathroom has been reset to normal with the replacement of the old and rusty tap. Try both the hot and cold taps for clarity that everything you have done is working properly and efficient.
Now that you have achieved what you sought to, turn off the tap and enjoy a congratulatory drink for a job well done. We hope how five steps to replacing a basin tap helps you in your pursuit to being able to replace an old tap and restoring the beauty of your bathroom back to its glory days. Do check out our page for more DIY tips.
Source: www.Muzhchin.net
