Laminate Flooring is one of the very room touches and décor you can do for yourself and by yourself as it only takes a few hours to complete; depending on how big or how many rooms there are in your house. It requires no tedious processes and does not involve drilling, gluing or nailing.
Tools and Materials Needed to Start Installing Laminate Flooring
As easy as the process of installing a laminate flooring is, you will need some tools and materials for the work to be done. Let’s delve into which equipment best fit for this job.
Materials Needed
- Laminate Flooring
- Scrap wood spacers
- Underlayment and tape (optional)
Tools Needed
- Utility Knife
- Circular saw, jigsaw, or handsaw
- Hammer
- Tape Measure
- Pencil
- Speed Square
- Tapping block or pull bar
- Undercut jamb saw
- Rubber mallet
- Straightedge ruler
Tips to Follow Before You Begin Laying a Laminate Flooring
Just as any other work to be done, you need to be allow of some little but very important details for a perfect or near-perfect job. Preparing to lay a laminate flooring yourself could be successful and enjoyable if you get things right from the onset.
- First and foremost, be sure the room floor ir surface is flat, clean and smooth across the whole circumference. If there is an already installed panel and you wish to install the laminate flooring on, check and be sure for stability and smoothness.
- Next, if your laminate flooring does not come with an attached underlayment, personally roll out a foam underlayment.
- Pour liquid leveler in low spots and remove or hammer down existing nails, screws or obstructions.
- Remove all trim, baseboards and heating registers. Most often, the registers do not come with any attachments.
- Use the undercut jamb saw to level up your door’s casing to the desired height of the floor and clean the floor by either sweeping or using a vacuum.
How to Install Laminate Flooring
- Dry-Fit the Flooring Layout
- Install the Underlayment (Optional)
- Cut and Lay the First Row of Planks
- Finish the First Row
- Lay Out Rows in Staggered Fashion
- Continue Laying More Rows
- Install the Last Row
Dry-Fit the Flooring Layout
The first item on your to-do list would be to test-fit a few of the laminate planks you will be using. This process is just to give you the outlook of the flooring when it is done. Unpack them and get readu to delve into the main work.

Install the Underlayment (Optional)
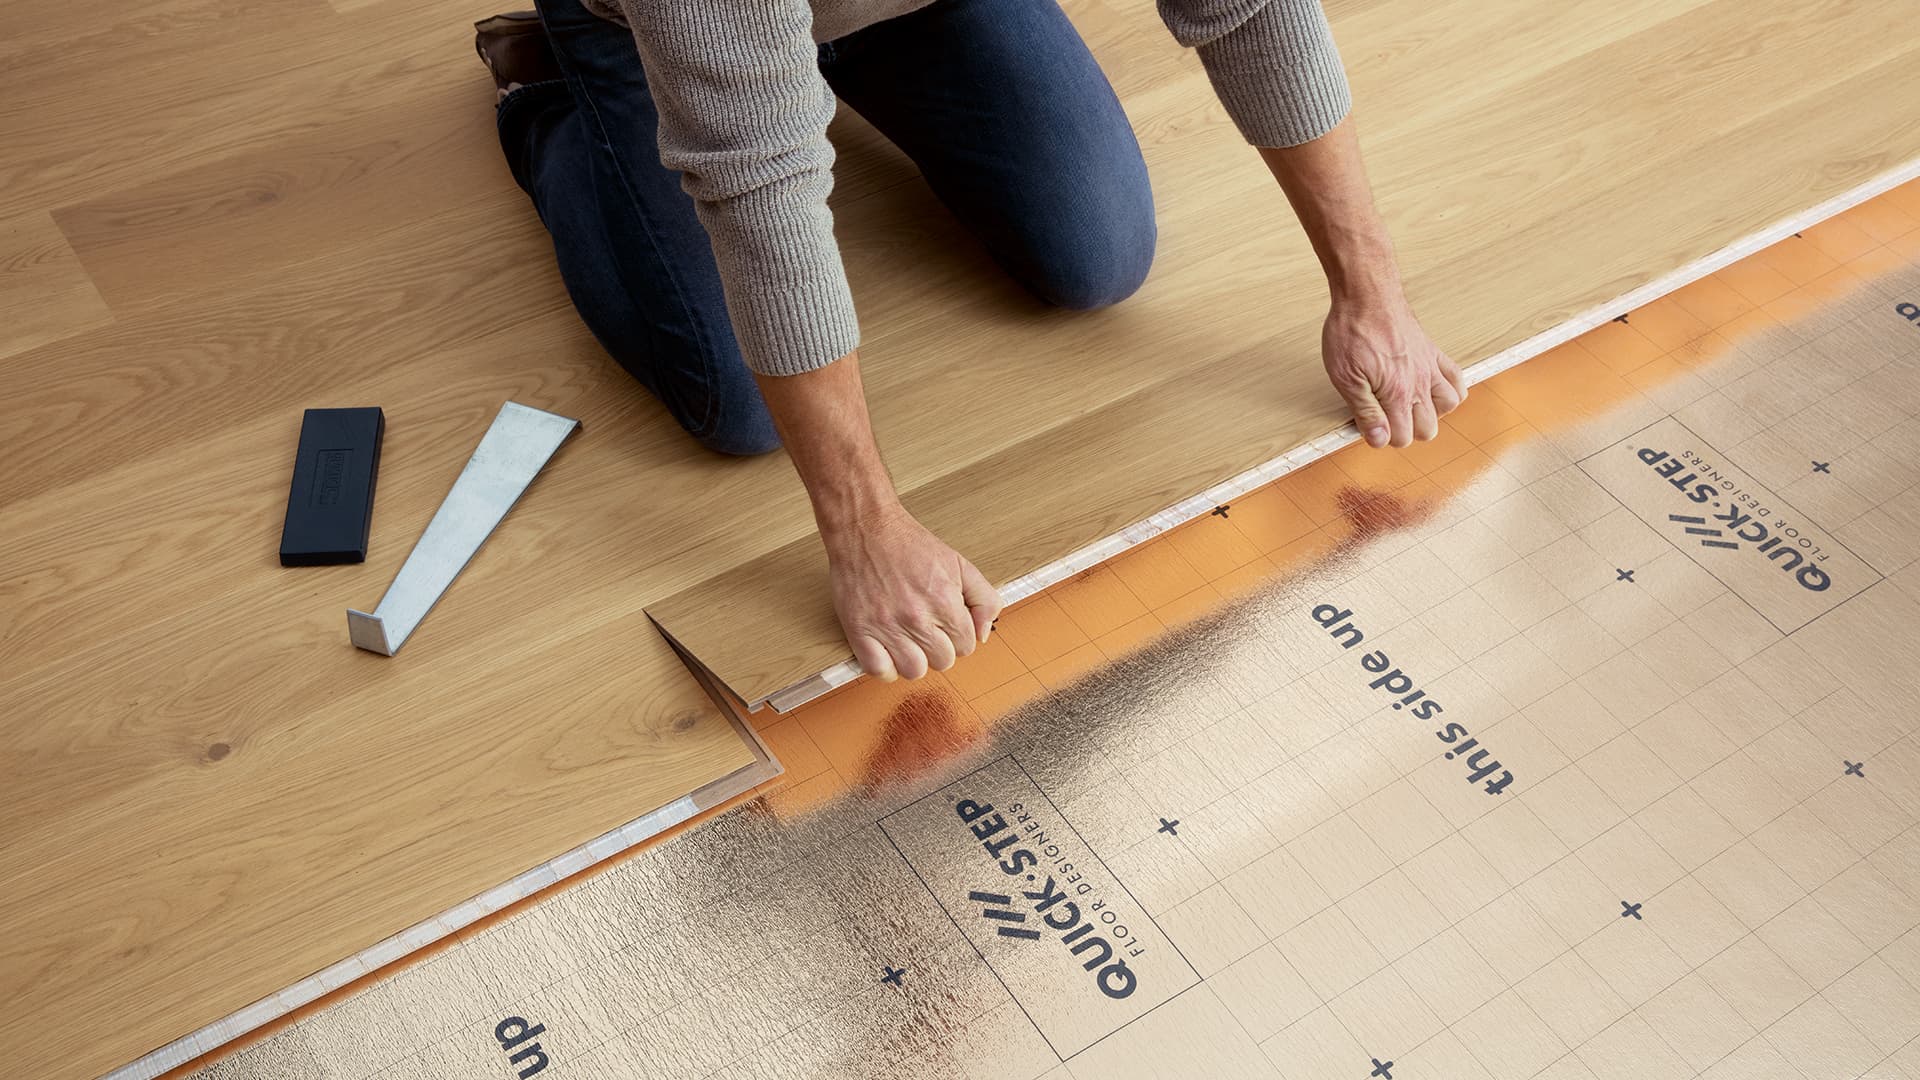
Most laminate floorings come with attached underlayment so this process may be optional based on which type you got on the market. Flooring without underlayment requires you to roll out sheets of foam underlayment, secure its edges and tape them together with adhesives. For an easy task, be sure to buy laminate floorings with underlayment.
Cut and Lay the First Row of Planks
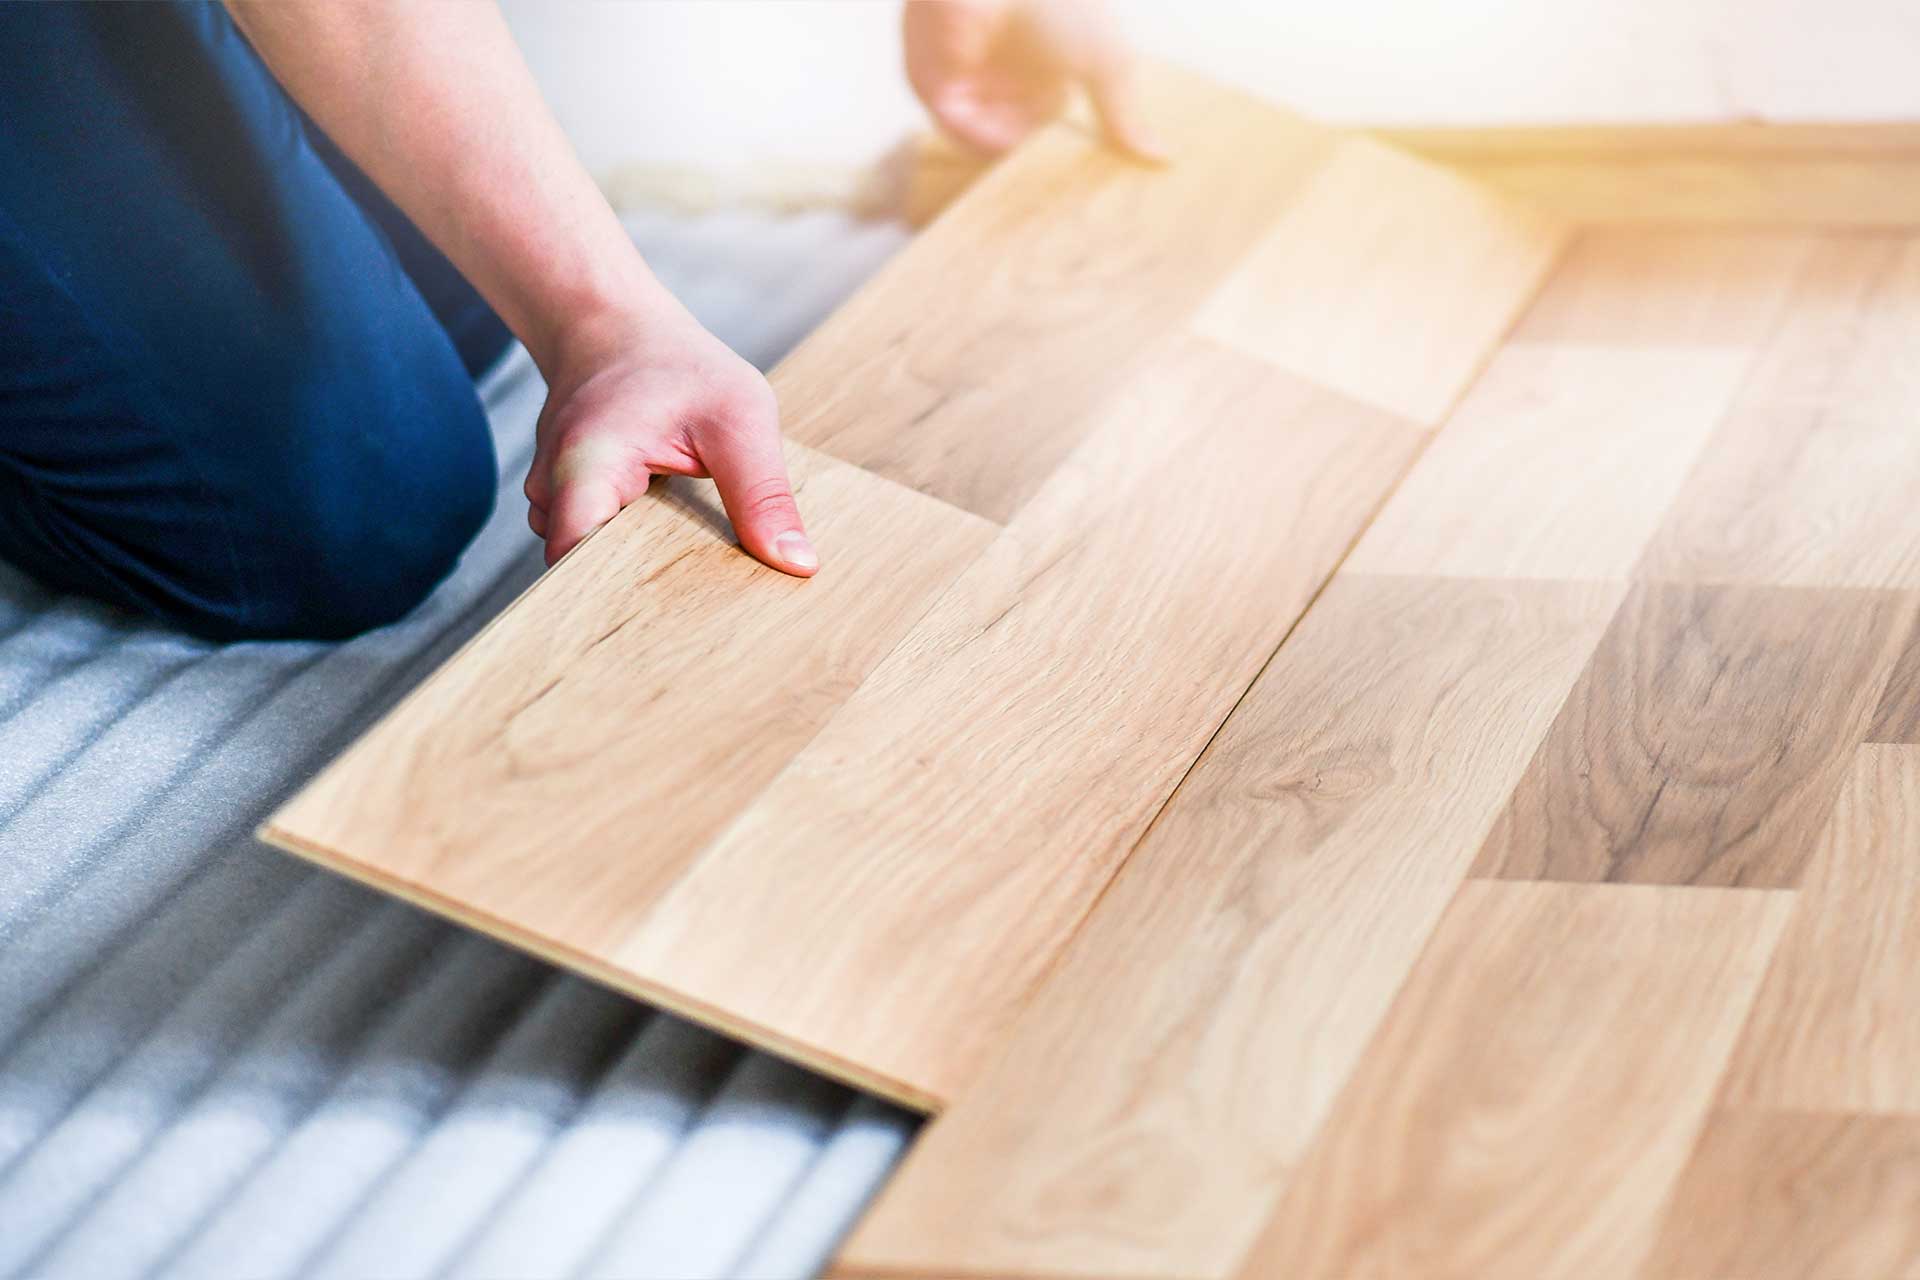
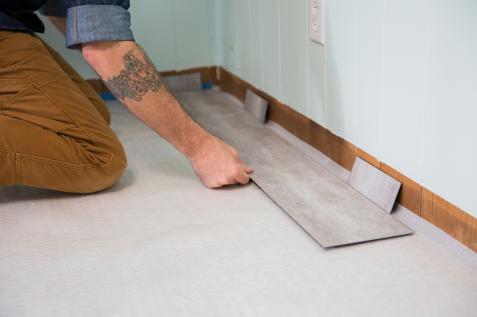
For a near-perfect job, start from the edges of the room and graduate to the center. To lay your first plank, do well to to prune of the roughages of the board. After that is done, place the very first plank against the wall. Remember to maintain a 1/4 to 3/8 inch distance from the wall. In a situation where you will have to cut the first plank, do not exceed cutting it beyond 16 inches long.

Finish the First Row
At this point, you need to cut the plank to the length of the first one and transfer it to the others. That is done so you do not have the last plank being too long. Keep the cut-off end aside, as it will be used as the first plank in the second row. Lay the measured cut piece into row number one and secure the edges.
Lay Out Rows in Staggered Fashion
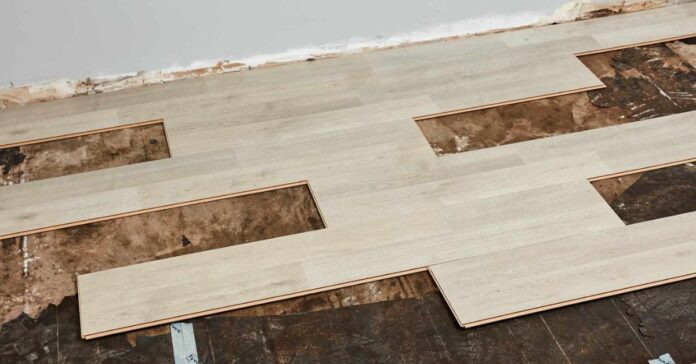
After you complete the laying of the laminate flooring on the first row, you need to switch laying them in lines so the seams do not end up in an adjacent row. Lay them in a staggered and sawtooth appearance for the best results.
:max_bytes(150000):strip_icc()/how-to-lay-laminate-flooring-1822250-07-7fa831f76c8e420fb7f3a59fbebec516.jpg)
Continue Laying More Rows
At a 45-degree angle, move on to lay the planks on the other rows until the room is completed. For each adjoining row, insert the longest tongue edge into the groover and lower the piece flat to the fllor to lock the joint. With the use of a hammer and pull bar, adjust and knock each piece into its neighbor in the same row.

Install the Last Row
Most often, the last planks would be bigger than the space left on the floor. Use the pencil in hand and mark the length to be used and cut the planks to the exact measurement taken. Use the circular saw or jigsaw and rip the final row. With the same method applied from the onset, install the final planks in the row. After you are done, take your time and remove all spacers and install a baseboard. This should duly hide all gaps along the walls.

Tips for Cutting Laminate Flooring
There is no hassle in cutting a laminate flooring. Why is it so? Laminate flooring are soft and thin materials which need no pressure and expertise to cut. To properly cut them however, you should;
- Employ the use of a table saw for precise cuts.
- Without a tablesaw at your disposal, a utility knife/handsaw/jigsaw can be duly made use of.
- To arrive at better cuts with lesser chipping, the best tool to use is the fine-tooth saw.
- In the case where you to make curves, custom cuts and notches, none other tool best does the job than the jigsaw.
- By cutting on the backside, you will be minizing chipping on the flooring.
Some Common Mistakes When Laying Laminate Flooring
Laying a laminate flooring can be very easy and successful if attention is paid to every little detail. To produce the best results on the floor, you MUST avoid these few mistakes that could be made.
- Aligning the planks lengthwise with the room’s longest walls.
- Avoid staggering the boards in the layout. When seams are aligned, they create instability in the structure of the flooring.
- Installing laminates on baseboards. Do well to remove all baseboards before installing any laminate.
- Avoid laying flooring on cushioned flooring; such a foam-backed vinyl flooring. One of the tips explains the need to have the floor smooth and clean.
Source: www.Muzhchin.net
