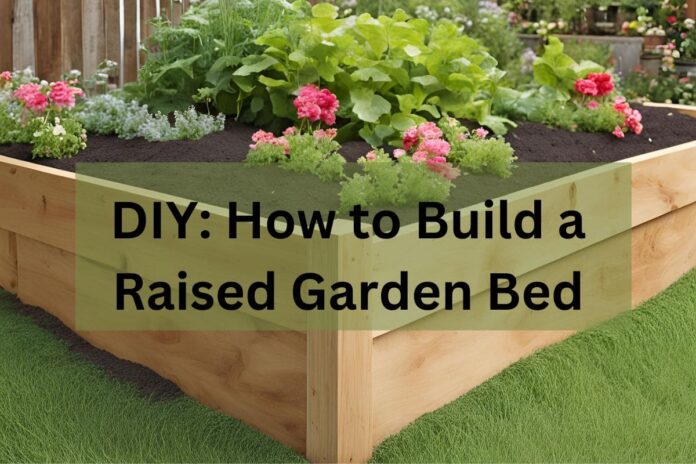
DIY: How to Build a Raised Garden Bed – Raised garden beds are some of the essential things that someone who is interested in gardening must-have. You might think that it requires sophisticated expertise to get it done, but we are here to let you know that it is something that you can do by yourself. This article will expose you to have to build a raised garden bed by yourself.
How deep does a raised bed need to be for a garden?
As someone who is looking forward to having a raised bed for his or her garden, you must know the required depth that the bed should be. It is worth noting that this dimension varies depending on the size of the raised bed you need for your garden. During our research, we discovered that the recommended depth of your raised bed should be around eight (8) inches and twelve (12) inches. We found the reason behind this to be that, at that depth, the roots of the plants have the required support that they need as depth gives the roots an ample growth environment. So having the depth between the stated range creates an environment where your plants can greatly flourish and reach their full potential.
What are the layers of a raised garden bed?
Most florists recommend a multi-layered method when building raised garden beds. The reason behind this recommendation is that the multi-layer method ensures that the plants grow well with the required optimal conditions. In the course of our research for this article, we gathered that the base of your bed, i.e. the foundation, should be made with gravel or small stones. This is because the gravel and small stones will facilitate efficient drainage and also prevent waterlogging in the bed. The prime effect of this is that it provides the adequate conditions necessary for the growth of the roots.
After the gravel or small stone, add nutrient-rich garden soil mixed with organic matter. As widely known, organic matter will provide the needed nutrients required for the plant to thrive well. In order to ensure the improvement of the soil’s fertility, just add a layer of manure or compost. This layer comes just after the organic matter-soil combination layer. For the top of the bed which happens to be the final layer, add high-quality topsoil.
What is the best soil for raised beds?
By now you might be wondering about what is actually the best soil for raised beds. In our research, we found out that topsoil serves as a cornerstone of any raised bed. This is because it offers essential characteristics needed for optimal plant growth. Usually, top soils are supposed to be dark as well as crumbly in texture as this means that the soil is genuinely rich in organic matter and nutrients.
How to Build a Raised Garden Bed
Building a raised garden bed requires some steps and these steps are;
- Choosing the Right Location: You just can’t stand up and put your raised bed anywhere in your garden. You might have a vast land that serves as a garden, however, you should keep in mind that it is not every side that can be conducive for your raised garden bed. One of the things that you must look out for is whether the location that you choose has adequate sunlight because light is necessary for plant growth. Additionally, you must see to it that the area you choose to build your raised garden bed should have access to water.
- Selecting Materials and Tools: You can’t start building a raised garden bed without the right tools. Right after you spot the suitable location for your raised garden bed, proceed to look for the needed materials. To successfully build your raised garden bed, you will need wood (such as cedar or redwood), and if wood is not available, you can try alternative products like galvanized steel or composite materials. Other essential tools include a saw, drill, level, measuring tape, and gloves for safety will be needed.
- Designing Your Raised Garden Bed: With materials and tools in hand, it is now left to come up with the right design. Designing your raised garden bed requires determining its dimensions and this will be based on the available space at your disposal as well as your personal preference.
- Preparing the Site: Once your design is ready, proceed to prepare the site that you settled on by clearing it. It will be prudent to know that if the area is prone to weeds, laying down a weed barrier fabric can help curb their invasion.
- Assembling and Filling Your Garden Bed: As you have cleared and optimized your site to your satisfaction, proceed to assemble your raised garden bed according to the design that you chose. Once these parts are assembled, fill the bed with the various layered content that will give you the optimized soil conditions.
- Planting and Maintaining Your Raised Garden Bed: With your raised garden bed primed for planting, proceed to plant your plants. Keep in mind that once you plant, you must try your best to maintain the bed in order for the plants to have the required conditions.
Source: www.Muzhchin.net
