Installing a wallpaper is one easy task anyone can try, do and achieve a perfect or near-perfect outcome without necessarily calling a professional. Modern times have brought about several different types of wallpapers we can use in our rooms instead of the traditional mode of painting, applying pallets or other means of beautifying our rooms. Today, I would like to share with you seven simple steps to apply a wallpaper in your room. Before we delve into the main crust of the issue, let us look at the tools we will need for the task ahead.
Tools You Will Need To Install A Wallpaper
- Wallpaper Design
- Wallpapering tool
- Sandpaper and filler spreader
- Wallpaper knife
- Brush
- Scissors
- Roller
- Folding Rule
- Pencil
- Sponge
- Bucket of Water
- Tray

Table of Contents
Here are the seven
- Prepare the Wall
- Decide Where to Start
- Paste the Wall
- Hang Your First Strip
- Wallpapering Corners
- Wallpapering Around Windows
- Wallpapering Around Switches
Prepare the Wall
You have sat back and decided to go with a wallpaper instead of painting or applying any other mode of beautifying your room. First, you will have to prepare the wall and this process does not take so much time. If it is a newly built property, you can just clean the wall and start wallpapering.
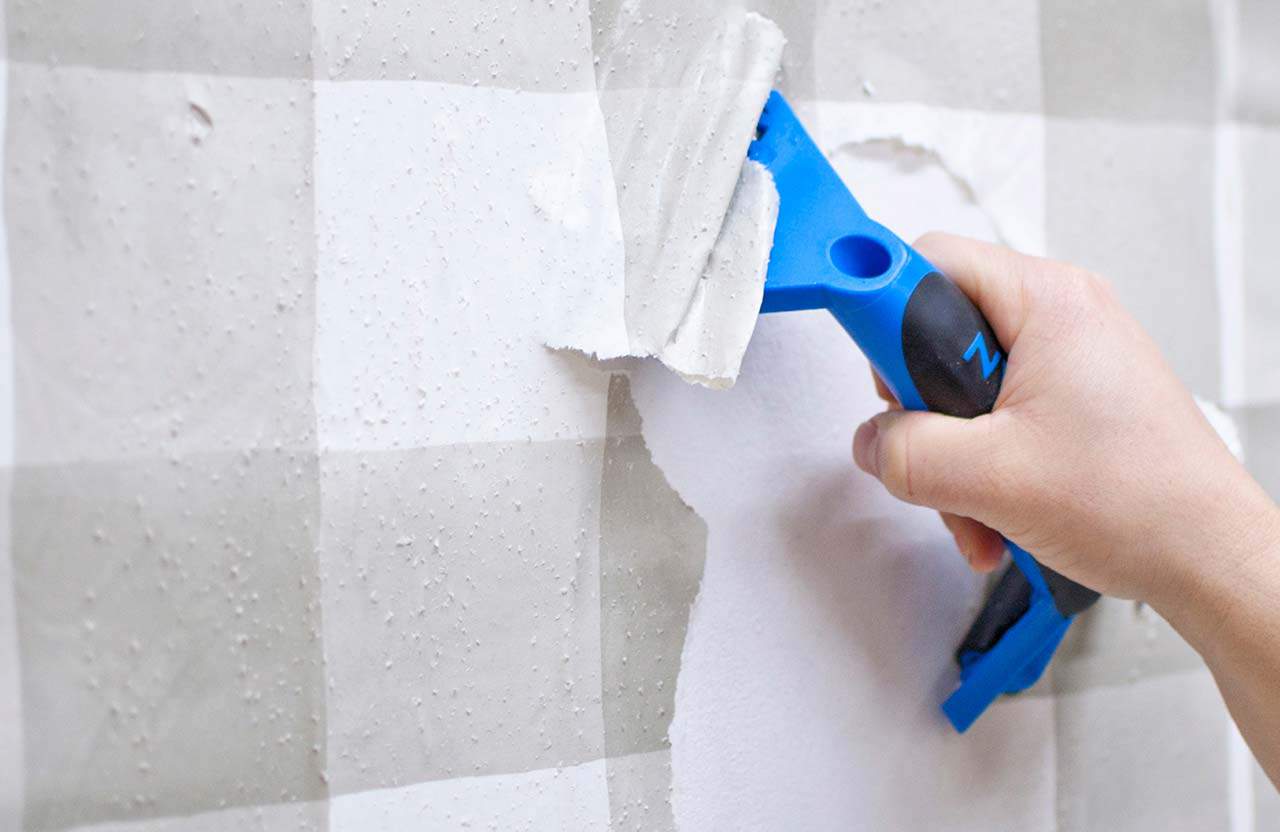
For an existing property which has an old wallpaper or any other, you have to remove old wallpaper, scrap the wall, fill any holes and primer before starting the new process. Do well to turn off switches which may be in the way of your work.

Decide Where to Start
Most often that not, we contemplate where to start when you want to wallpaper. The best spot of the wall to start from is the corner or beside a window if any. By reading the label, you will know the length of the wallpaper (usually 53 cm) for the most traditional ones. For a starting position, do measure the wallpaper width on the wall.
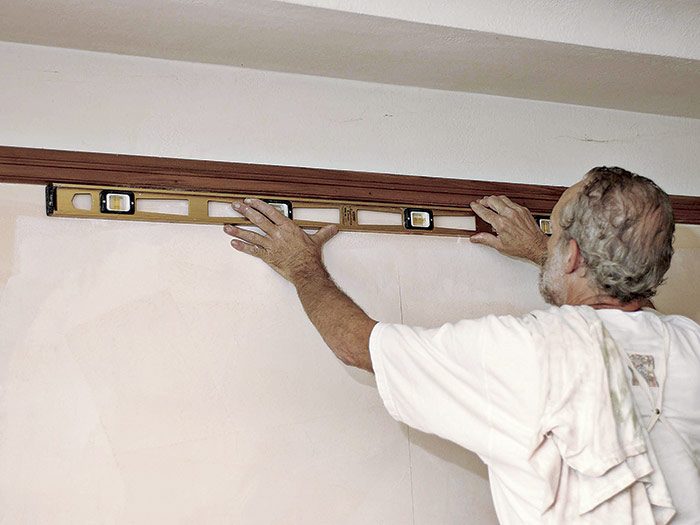
Basically, the very first wallpaper you apply must be in a vertical line. With this in mind, grab your spirit level and draw a vertical line with a pencil. The first wallpaper must sit on the pencil line for accuracy.

Paste the Wall
Before you paste the first wallpaper on the wall, first bring out all the other rolls and check for any damages. Draw the attention of the manufacturer if there is an damage on any of the wallpapers for replacement.
Non-woven wallpapers are the easiest to use, the paste is rolled straight on the wall and its edges brushed gently to affix to the wall without any hassle. For the big surfaces, a roller comes in handy. If you see moldings after pasting, do not be worried, you can correct that with a damp sponge later.

For even layer and best results, paste an area and half length at a time.
Hang Your First Strip
Before you hang your first strip, place a tray on the floor. The box in which the wallpaper came in could serve that purpose as well. From the floor, pull the wallpaper to the ceiling and attach it slightly to the top. Be sure the overlaying wallpaper is straight and not curved in any way or form.
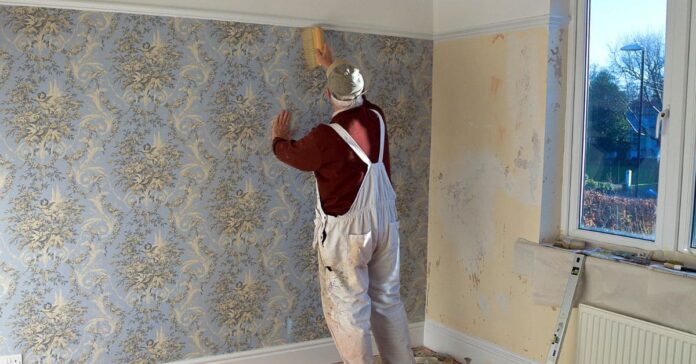
With the wallpaper tool, you can smoothen the wallpaper and ensure there are no bubbles formed underneath. Wallpapers are mostly not ordinary papers thereby making them durable. Do not hesitate to apply a little pressure but also do not force the wallpaper towards the wall. It should fall in its natural position.
For an excess or hanging wallpaper after pasting, cut it off and wipe off any residue paste with the damp sponge. Water is needed for cleaning the residue but it should not be rubbed on the wallpaper.

Wallpapering Corners
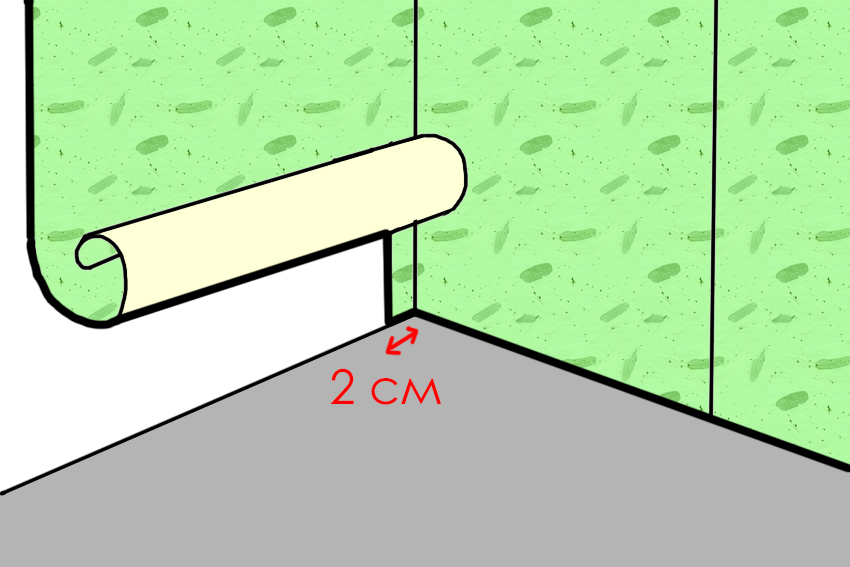
The work is all easy until you arrive at a corner or window. Not to worry, we will help you through those too. Arriving at a corner, the measurement of the previous wallpaper length is taken and 2cm is added. Also, take the measurement of the distance between the previous length and the corner in three places and cut according to the longest measurement you got.
To follow up with the same pattern, be sure to start from where the pattern matches the previous so to have continuity and a uniform work. Place the unused part to the edge against the previous length and brush it down gently.
Common setbacks in installing a wallpaper is where the corner is not straight causing an overlap. What to do? You have to place the next wallpaper strip completely straight next to the previous length and that would cause a crooked scene. Gently raise the length and put it back on it again. You should be okay this time.

Wallpapering Around Windows
Imagine fixing your wallpaper on the wall then you encounter a wall. Do not panic. Just cut the length where it touches the window. At the base of the window, make a 45 degree angle cut with the wallpapering tool from the corner to the edge and take off excess wallpaper strip.
Wallpapering Around Switches
Switches and sockets with power flowing through must be properly addressed when installing a wallpaper. Before you work around those electrical items, switch off the power and remove their covers.
Just like you have done for the walls without sockets, place the wallpaper covering the holes of the sockets. Use a knife and cut off the part where the socket covers but take note of the measurement so you do not over cut the space. That will cause your work to be untidy.

When you are done with the whole area, place your socket back to its original position and go on to finish wallpapering. Look around the room and be sure everything is rightly in place before congratulating yourself. After you are certain all is well, keep the room open for 24 hours at least.
Congrats!!!!
Source: www.Muzhchin.net
